BuzzEdit School Tutorial - Advanced Projects Series BE1-TUTA
Introduction
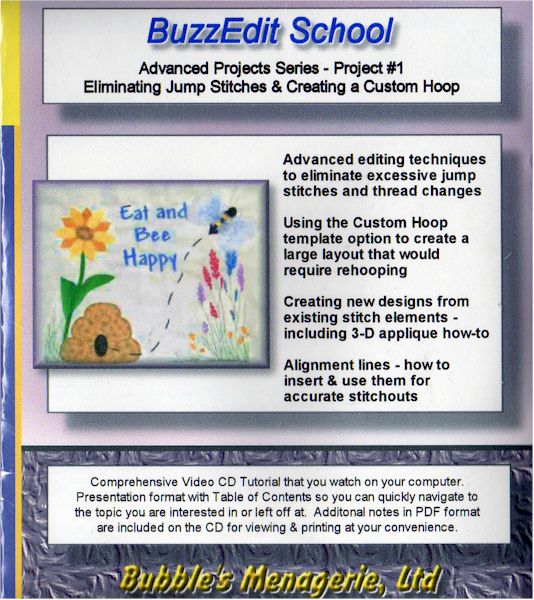
This CD tutorial was developed for those that are familiar with BuzzEdit and it's interface and are looking to learn more advanced techniques as well as how to create a custom hoop layout. This is the first in a series of project based lessons. The final design layout is the perfect size for a placemat as pictured to the right.
The videos are created and packaged with their own video player, so no additional software is needed. Because of the length and size of the videos, they may take awhile to load - your computer or CD is not malfunctioning, it just may take some time for the video and player to load. However, once the video has loaded, it will play as expected.
The printable lessons are in PDF format and contain additional information for reference. The printable lessons are for standard letter size paper, so you can use a three hole punch and create a personalized notebook if you would like.
All of the designs that are being edited and discussed are included on the CD. I should mention that the lessons require you to use a design that was created in a previous lesson, so it is best to proceed in the sequential order of the lessons
Topics Covered
Eliminating jump stitches
Using the Reverse Stitch tool
Using the custom center option
Creating new designs from elements
Creatively modifying existing designs to create a completely new designs
3D applique
Alignment lines
- what are they
- inserting them
- using them to re-hoop your fabric
Creating a custom hoop layout
Computer Requirements
Windows 95® or greater
(TSCC codec included for optimum viewing)
Adobe Acrobat Reader® version 4 or greater
(included on CD)
Sound Card
Video resolution 800x600 minimum
Printer (to print lessons)

 1-866-739-2568


